How to Isolate Images in Photoshop
0
Before getting started, one important rule should be clarified: never use the Eraser tool in Photoshop to create isolated objects in an image.

Layer masks for isolating images in Photoshop
In the tutorial below, it will be shown that Layer Masks can do everything the Eraser can, and even more. A Layer Mask creates a channel on a layer that lets one “paint” parts of the image on or off at will.
Unlike the eraser, layer masks also let one bring back information removed earlier.
Step 1: Set the artboard size
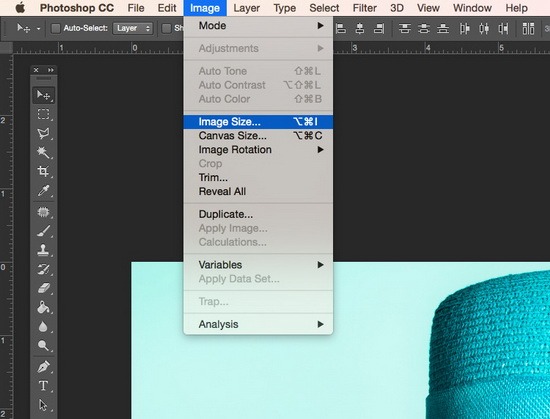
Before importing an image, make sure the canvas size matches the intention, or verify that the image resolution is correct (to check image size go to Image > Image Size).


Step 2: Duplicate the layer
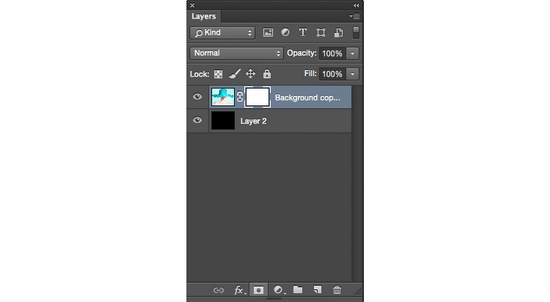
Although the Layer Mask tool is very useful, it is always necessary to have a way to roll back.

Step 3: Create a new layer and fill it with color
Use the Paint Bucket (G) to fill the new layer with a single color. If the image is on a white or light background, fill the bottom layer with a dark color so no specks are missed.
And conversely, if the image is on a dark background, choose a lighter tone for the bottom layer fill.
enterer>
Step 4: Add a layer mask to the layer to be edited
At this stage, it is already possible to start removing parts of the image. Select the Brush (B) and make sure the brush color is black.
Note: Click the Layer Mask icon that appears on the layer, otherwise painting will occur directly on the layer. See below:

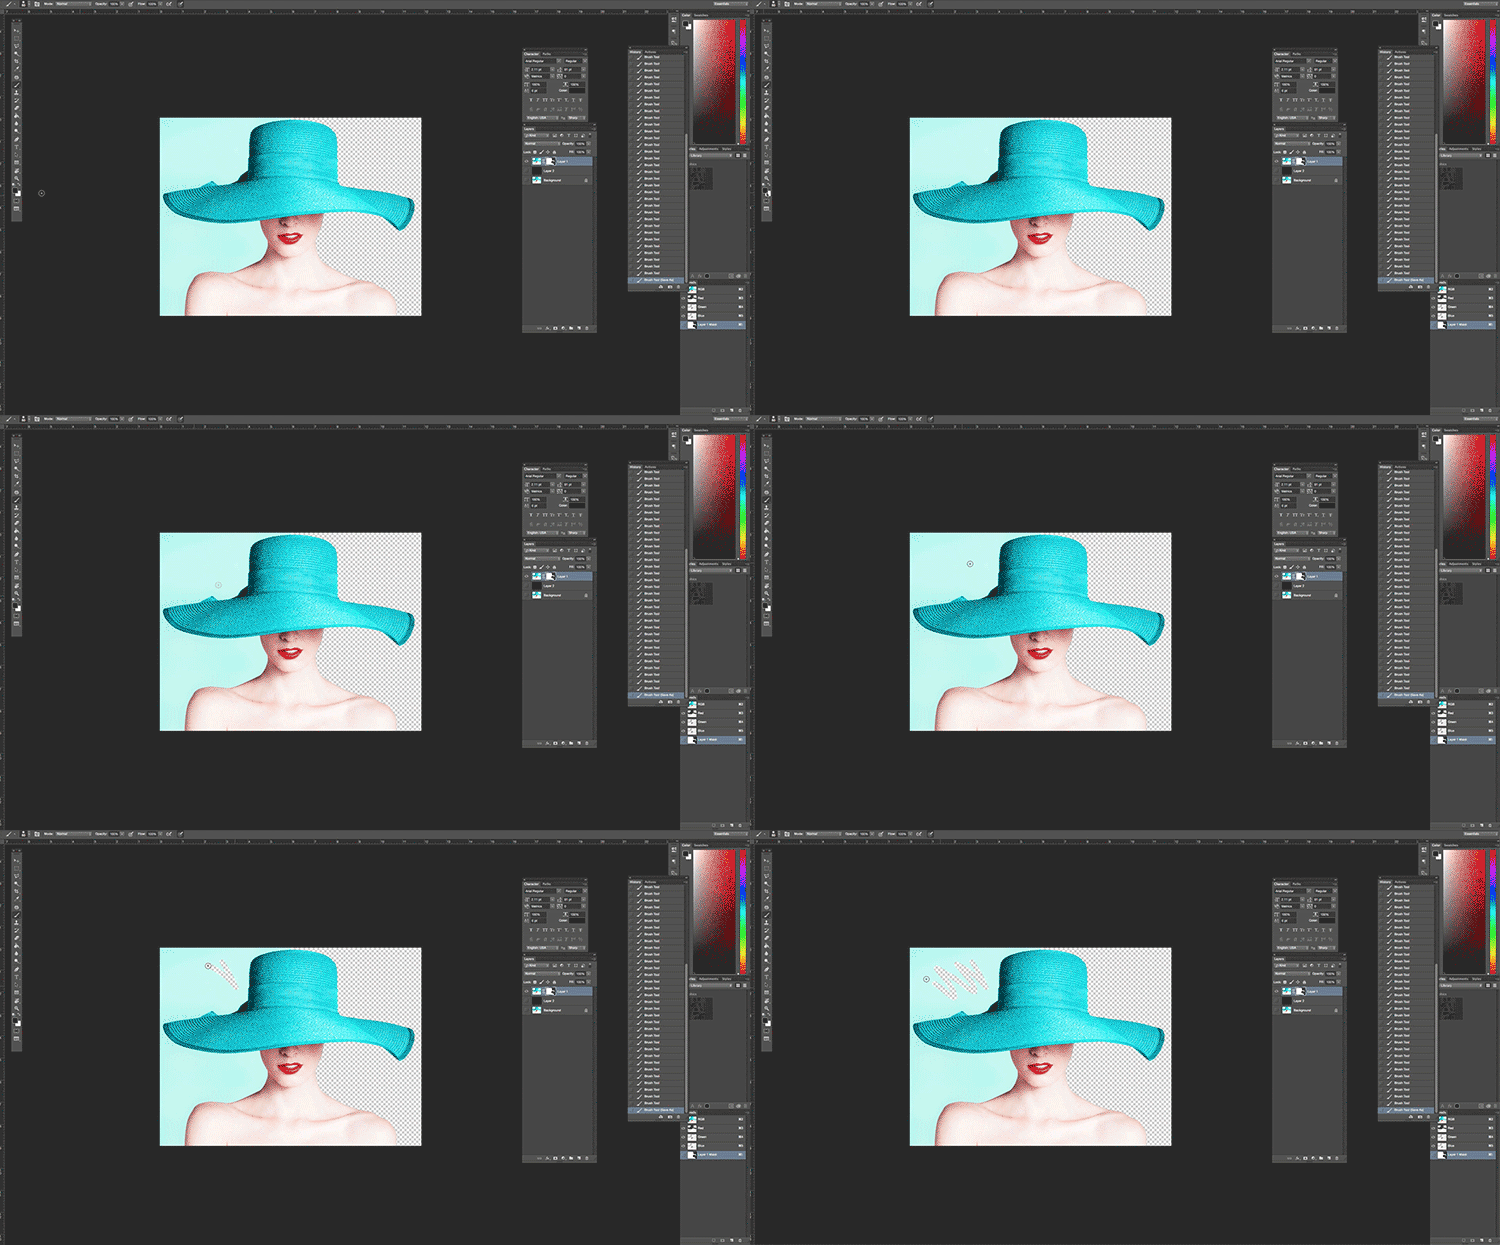
Step 5: Paint over the image
Now the background can be painted out, and it can also be restored by switching the brush color from black to white.
Remember: Black removes the image, white – brings it back.
enterer>
Step 6: Final touches
At this stage, it is reasonable to save the working file in PSD format. In this case, it is always possible to return to the project and continue making changes.
If it is certain the work is completely finished, drag the layer mask icon to the trash and Photoshop will ask whether to apply the changes to the image. Click “yes/yes”.
Once the changes are applied, all previous steps will be gone (as if working with the eraser). That is why saving the project beforehand is a great idea.
That’s it! Now there is everything needed to successfully isolate or remove parts of images.
Going forward, the eraser will no longer be used, because a few hours later it might become clear that what was erased cannot be recovered.
Note: this tutorial applies only to raster images. And although layer masks can be used on vectors, it will be impossible to apply these changes until the image is rasterized.
original: www.shutterstock.com/blog/how-to-isolate-images-using-layer-masks-in-photoshop
This article is available in the following categories: About Microstocks


